
Submit Report
Submit an incident report in Incident Tracker: enter date and location, categories, write-up and forms, people and witnesses, then attach files afterwards.
On this page
The Submit Report feature in Incident Tracker enables users to document incidents through a structured, multi-section form. This process ensures comprehensive data collection for effective incident management.
Accessing the Submit Report Page#
- Log in to the Incident Tracker application.
- Click on Submit Report at the top navigation bar.
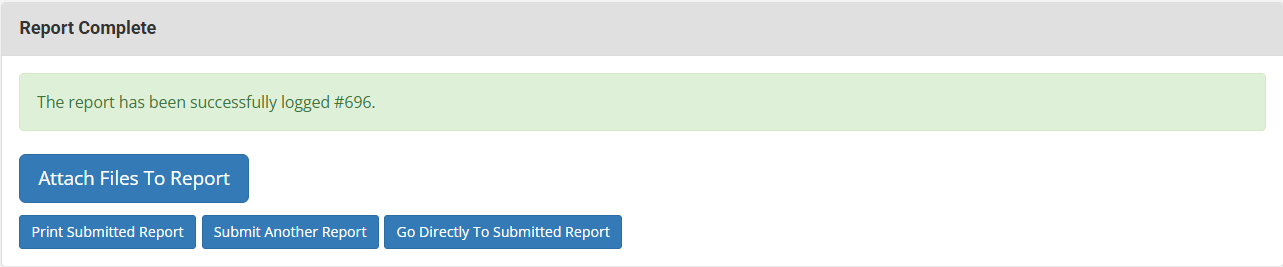
The report has been successfully logged.
Report Structure#
The report form is divided into four key sections:
- Incident Date & Location
- Specify the date and time of the incident.
- Select the main location, sub-location, and (if your organization uses them) the area/room where the incident occurred.
- Incident Categories
- Choose the category or categories that best describe the incident.
- Report Write-Up & Forms
- Provide a detailed description of the incident.
- Fill out any additional forms if required by your organization.
- People & Witnesses Involved
- List individuals involved in the incident and any witnesses.
Submitting the Report#
After completing all sections:
- Review the information for accuracy.
- Click Submit, then confirm on the next screen. Continue until you see the confirmation screen with your report ID.
▶️ Interactive Tutorial - Submitting a Report#
Walks through completing the report sections, clicking Submit, and confirming until the report ID appears.
Attaching Files After Submission#
Files are added to a report after it has been submitted. There are two ways to do this:
| When | How | Rights needed |
|---|---|---|
| Right after submitting | Attach files from the confirmation screen, before you leave it | None beyond Submit Reports |
| Any time later | Open the report, click Report Actions, then select Attachments | Append Rights (included in Edit Rights) |
To attach files later:
- Navigate to the submitted report.
- Click on Report Actions.
- Select Attachments.
- Upload the necessary files.